
Abstract
I worked on Mafia 2 Definitive Edition helping to investigate and create the updated look as part of a wider effort to remaster the game. Using HLSL and C++ I created new screen space shaders that enhanced the visual quality of the game, working closely with artists and other graphics programmers. The shaders I created were built to be highly tweakable with various shader parameters that were hooked into ImGUI making it easier to fine tune the game’s final appearance.
Introduction
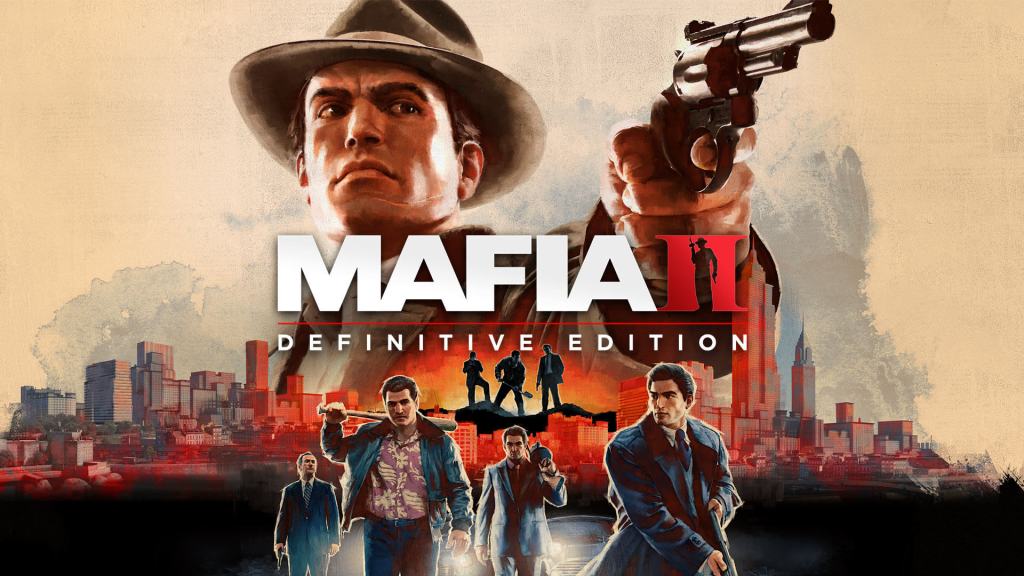
I worked on the early stages of the Mafia 2 Definitive Edition performing graphics programming tasks at d3t, with 2K as the publisher. With a remaster like this most of the focus of the project was on improving the look of the game. From rebuilding 3D assets with greater detail to improving the rendering tech. The early stages of this was all about investigating different ways we could do that and figuring out how the new version should look.
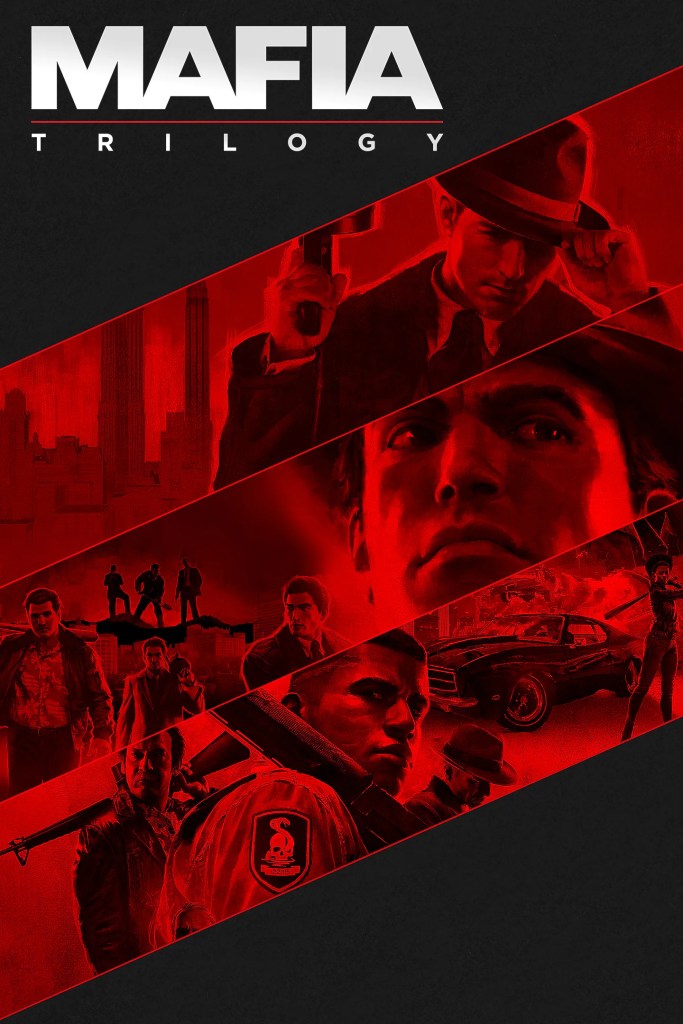
Mafia 2 is part of a trilogy of action crime games by 2K, the first one released in 2002 for the PC, PlayStation 2, and Xbox. Mafia 2 released in 2010 for PC, PlayStation 3, and Xbox 360. Mafia 3 released in 2016 for the PlayStation 4, Xbox One, and PC. All three games were later rereleased as definitive editions in 2020, the first game being a full remake, while the second was remastered, and all three were bundled with their DLC.
Project Overview
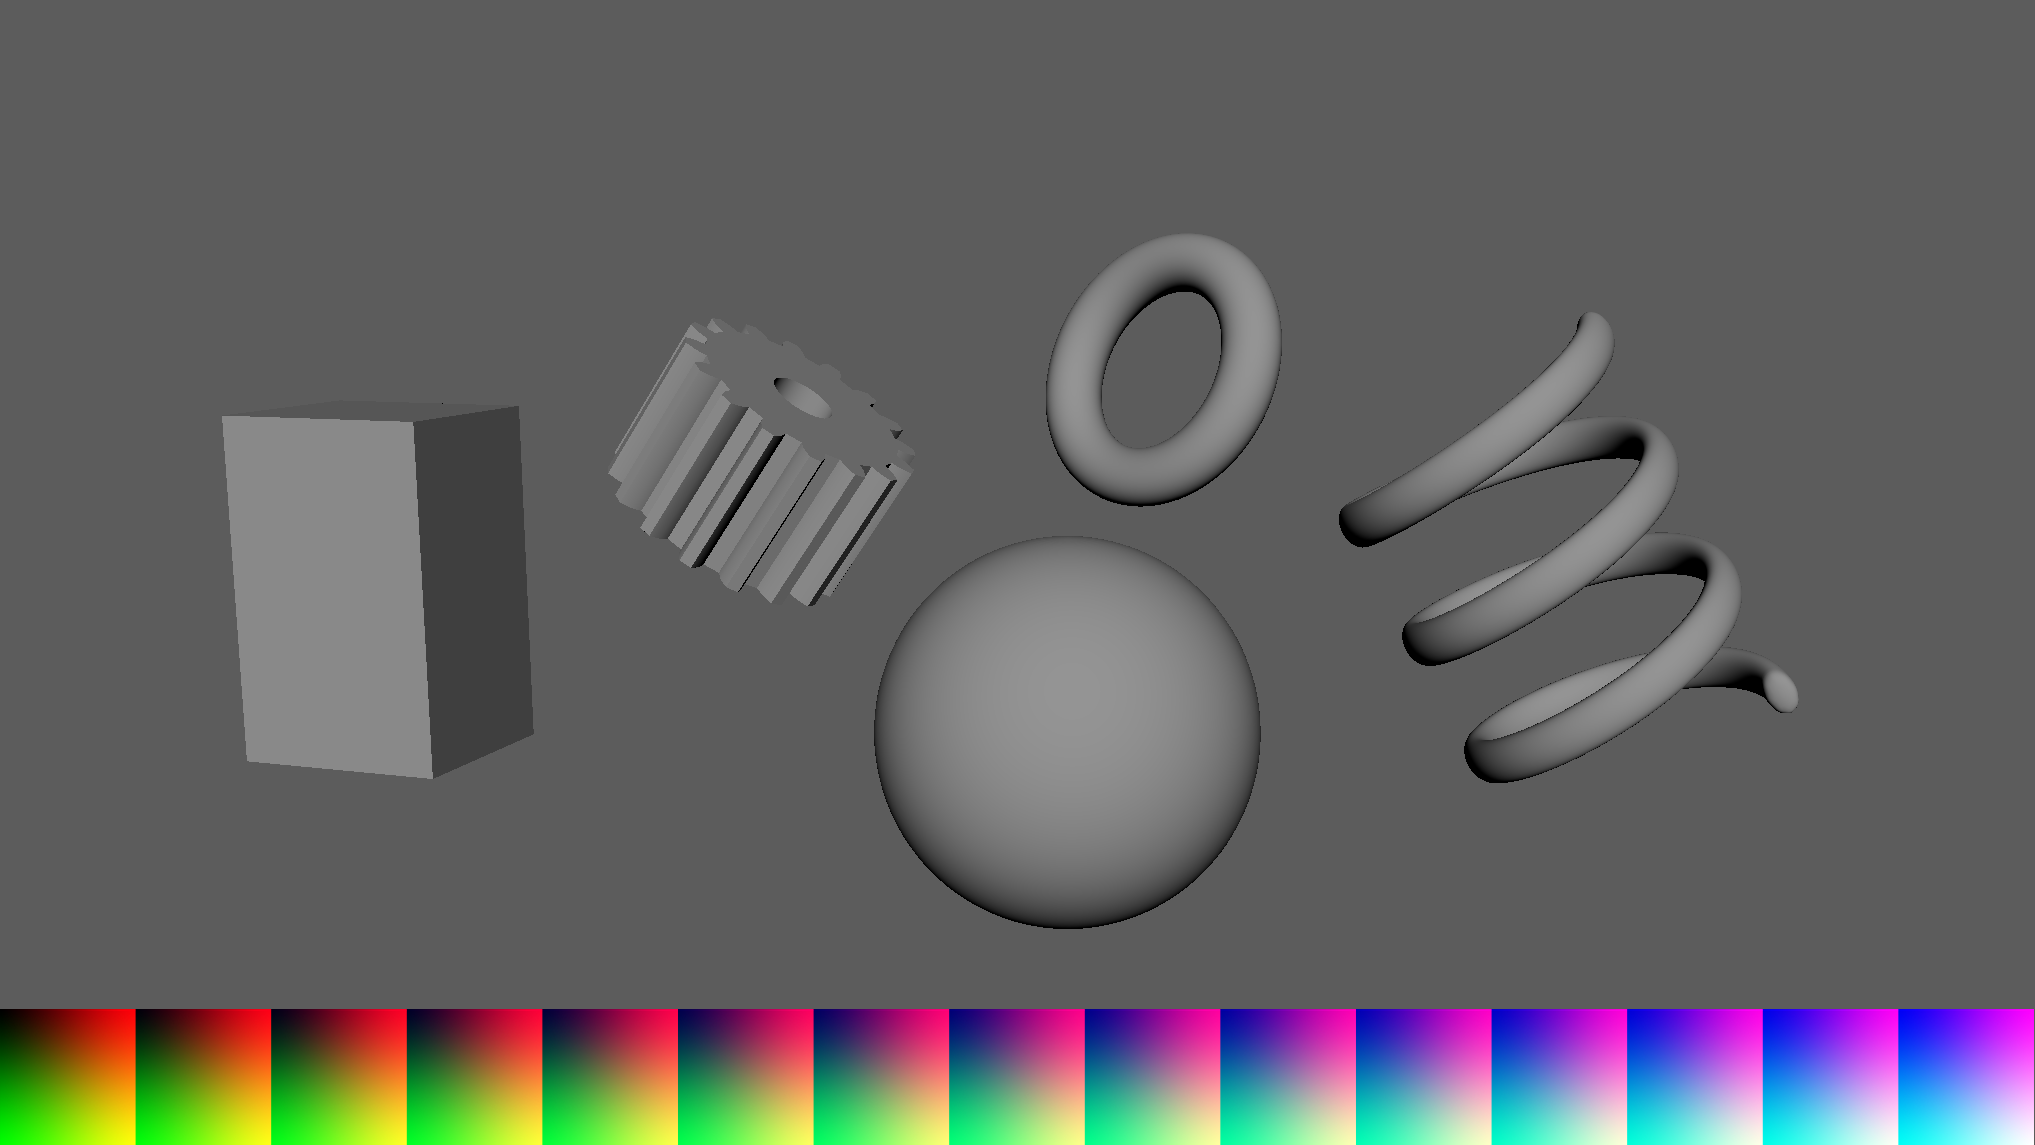
The work I did on Mafia 2 DE was mostly to do with setting up DirectX, and creating shaders. The DirectX work was all fairly routine, and involved things like implementing window and graphics settings, while the shader work was a bit more explorative. I worked closely with the artists on the team as well as other graphics programmers to create screen space shaders (using HLSL) that improved the look of the game. This mostly involved trying out different techniques to see which produced the best results while keeping the performance impact to a minimum. With a task like this it’s important not only to be able to solve the technical hurdles but to also have an understanding of what visually looks good and what doesn’t. To ensure we produced the best results I built these shaders with a lot of editable parameters that were hooked into ImGUI that allowed anyone on the team to tweak them at runtime. This made it much quicker and easier to iterate on the shaders and refine the look of the game.
Below are short explanations of each shader I worked on for Mafia 2 Definitive Edition.
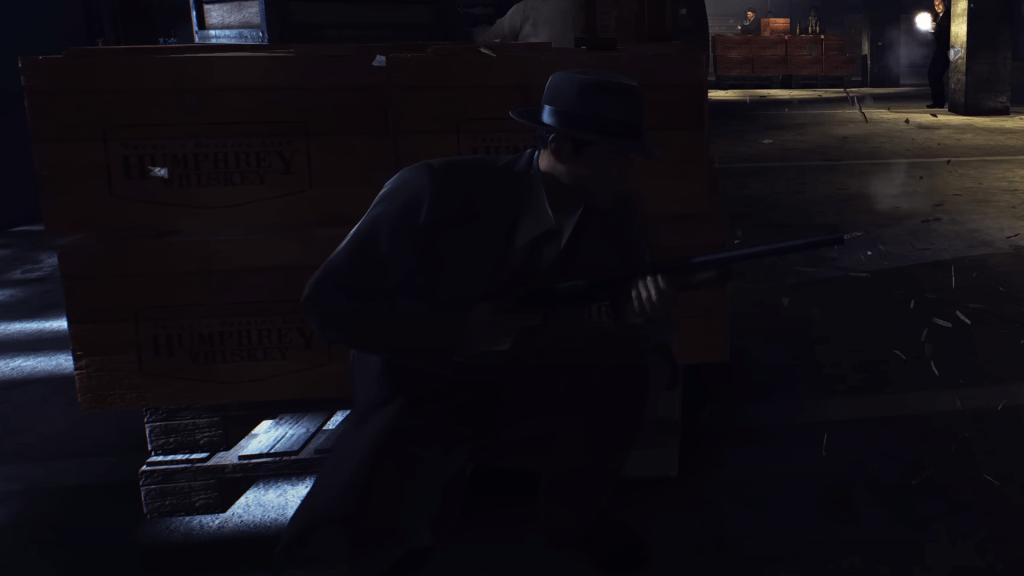
Rim Lighting
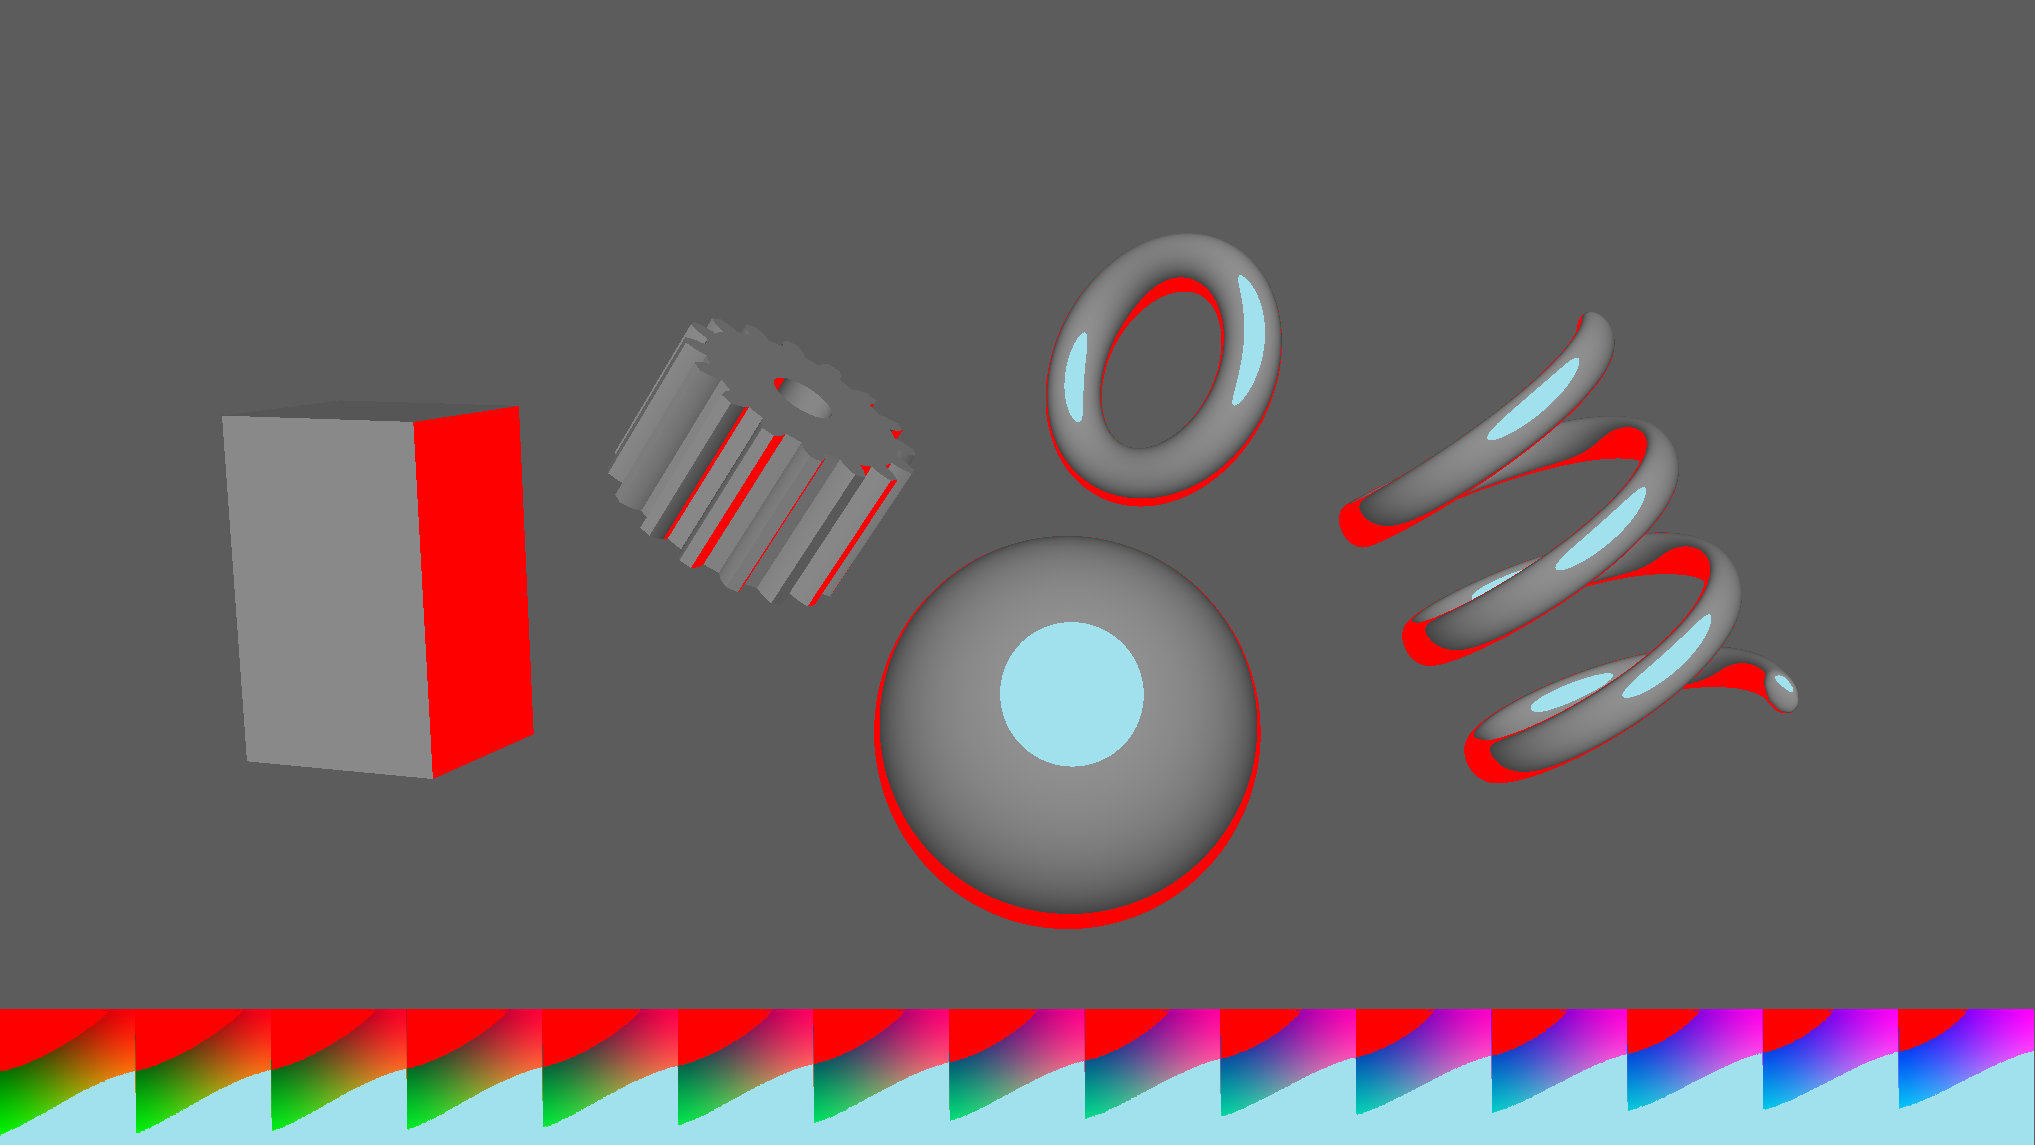
The rim lighting shader produces an effect that mimics real world rim lighting and bounce or environment lighting. It applies light to the outer edges of a model by comparing the surface normal with the camera normal. When the surface angle is perpendicular to the camera angle it applies a large amount of light but does not effect where the surface normal points towards the camera.
Rim lighting can help make a character stand out from their environment making their silhouette easier to see and can create a stylish look. The downside is that it can result in an unnatural glow especially in darker scenes. In Mafia 2 we scaled the strength of the rim light based on the luminosity at each pixel position. This produced a more realistic and subtle look as the rim light would only be visible where lights in the scene had a larger effect on the surface of a character model.
Vignette
A vignette is a very simple effect that simulates the darkening seen around the edges of images produced with old cameras. It can be used to give a filmic look or just to draw the eye towards the centre of the screen where it is brighter.
Chromatic Aberration
Chromatic aberration is an artefact of camera lenses when the different colour components of light are scattered or refracted. Often causing a blurring effect that leaves a noticeable red and blue tint around the edges of objects. This effect can look similar to old anaglyph 3D images where the image is separated and layered together with a red and cyan filter that create a 3D depth effect when viewed with anaglyph glasses.
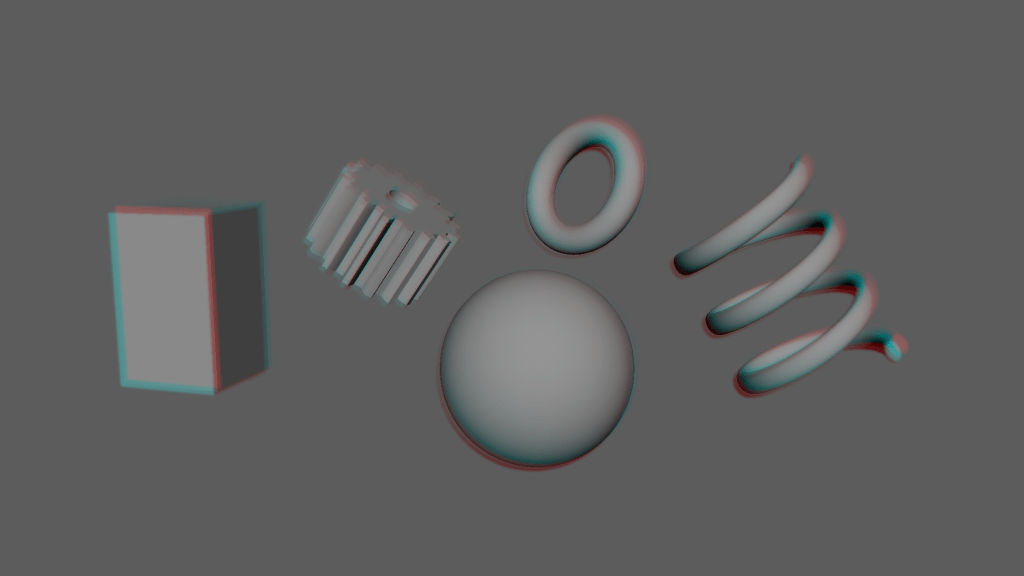
In 3D graphics this effect is usually simulated using a technique that is essentially a type of blur where the red component is blurred at a set angle and the blue component is blurred along the opposite angle. This is exactly what I did for Mafia 2 DE but I also scaled the strength of the effect based on the pixel position on the screen so that the effect was strongest along the edges of the screen while not affecting the centre. Just like with a vignette effect this producers a look that can be described as being more cinematic as it simulates the artifacting that can occur with real camera lenses.
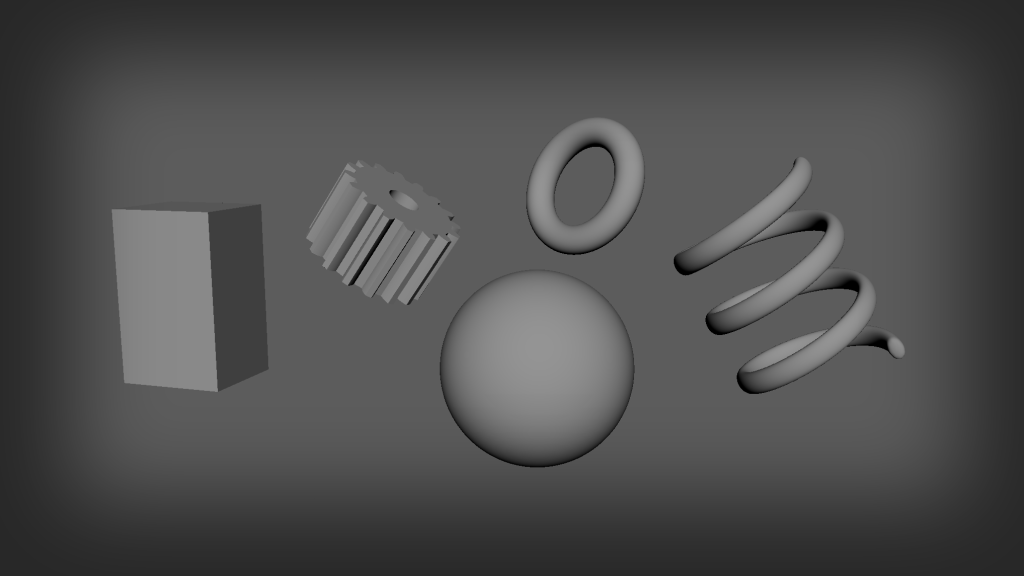
LUT
A colour lookup table is a method of adjusting the colours of an image. It treats the input colour (from the original image) as an index into a 3D array (or 3D texture) to find the output colour. It’s not context aware, meaning that it is a static filter that will apply the same adjustments regardless of the content of the input but it’s a convenient way to compress many single adjustments into one shader pass. LUTs can be used to adjust brightness, contrast, saturation, and hue, or can be used to completely replace the input colours with new ones (like swapping dark blues for bright reds).
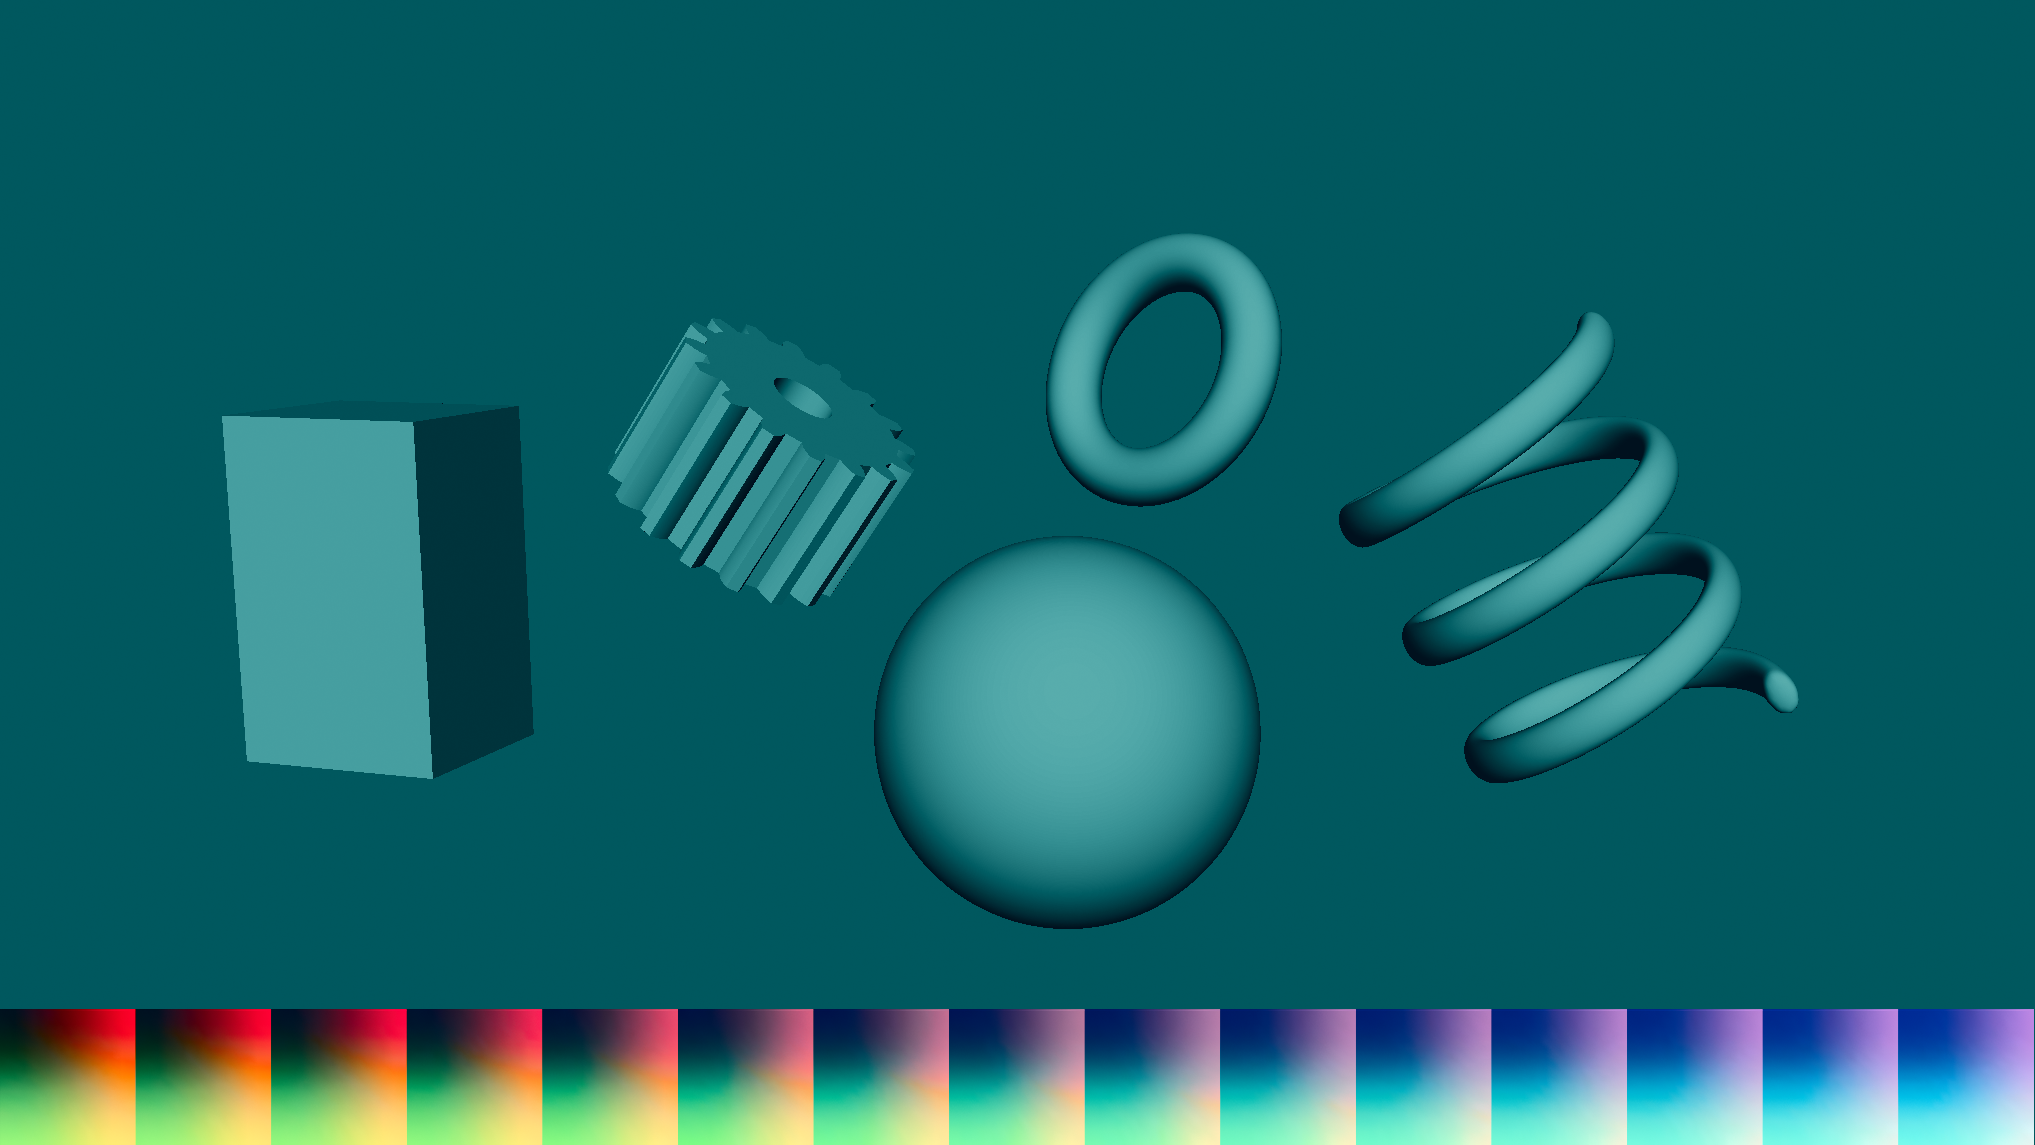
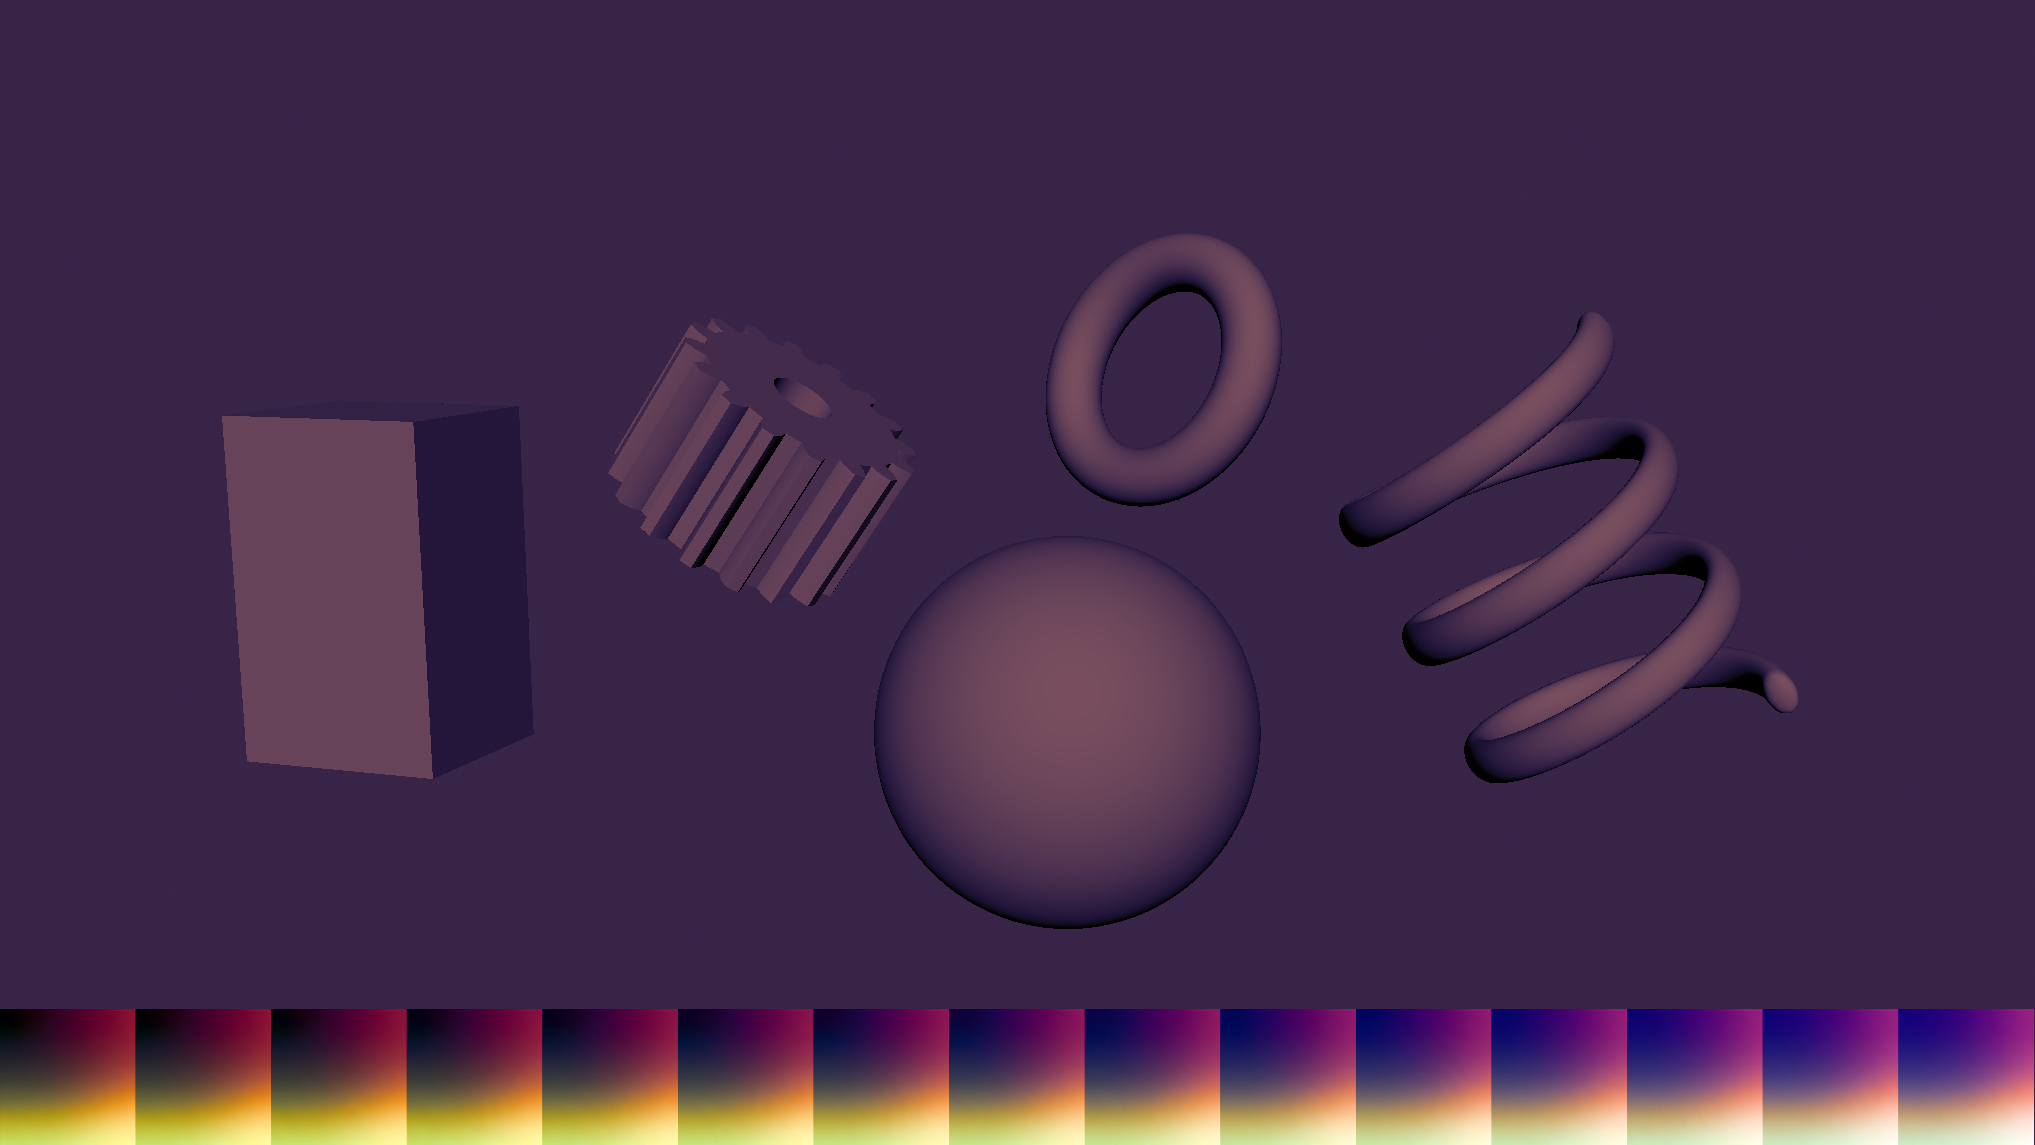
The nice thing about LUTs is that they are easy to optimise. A full sized LUT for a standard 32bits of colour will have 16,777,216 data points (256 * 256 * 256) but this can be reduced to a much smaller size for example 4,096 data points giving 16 levels of red, green, and blue. This is because when you perform the lookup you can blend between the nearest colours by utilising GPU texture filtering, essentially recreating the missing data points. Of course the smaller the LUT the less precision you’ll get but this is rarely an issue with the way LUTs are typically used.
In Mafia 2 DE each scene or location in the game could have different shader settings and parameters that would be saved to that scene’s data. Shaders could be toggled on or off and they could be individually tweaked per scene. This meant that the LUT shader for example could be used to very quickly adjust the colours of each scene, making some more muted and darker and others brighter and more vibrant as well as enhancing some colours while desaturating others depending on the mood of each particular scene or location. As an example an outdoor winter scene could be adjusted so that the blues were more prominent and warmer colours were more muted to give the scene a colder feel.
Light Scattering
Light scattering is an effect that happens when light enters fog or smoke. As the light bounces off the particles in the air it creates visible light beams, also known as god rays. Screen space volumetric light scattering is a technique that roughly mimics this effect by rendering rays of light on top of the scene.
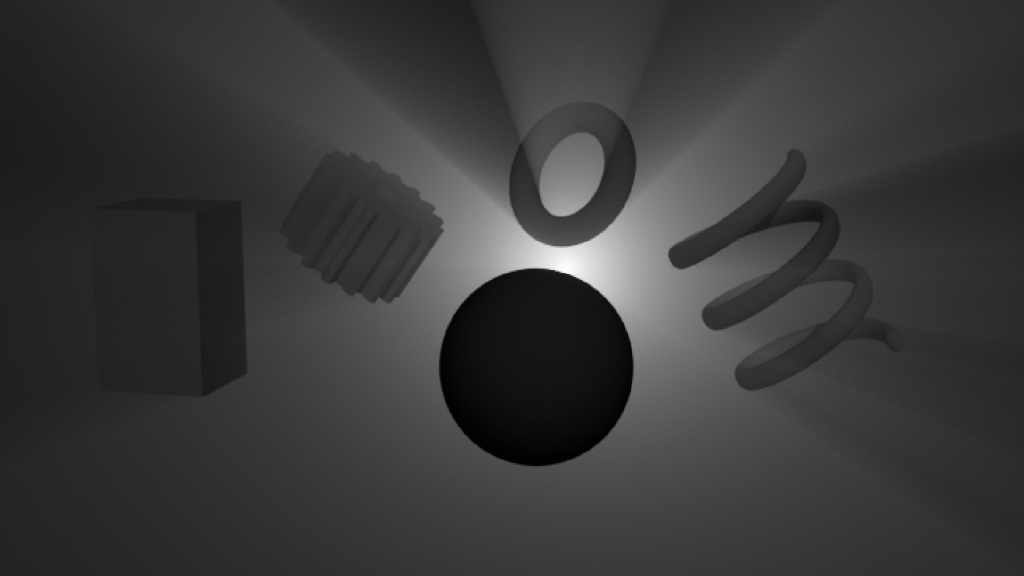
The amount of light added to each pixel on the screen is calculated based on the distance from the position of the light source (usually the sun) in screen space. This is further weighted by taking samples along the angle between the output pixel position and the light position, reducing the amount of light for every sample that is considered to be occluded by an object in the scene. By doing this instead of getting a uniform glow from the light source you’ll get an effect that looks more like individual rays of light coming out from behind scene objects. The downside of this technique is that it only works when the light source is visible on the screen, and with no depth data the rays will overlap foreground objects rather than going behind them. Even with these limitations the effect can enhance the look of outdoor scenes, creating visually pleasing patterns of light rays coming through the gaps in tree branches etc.
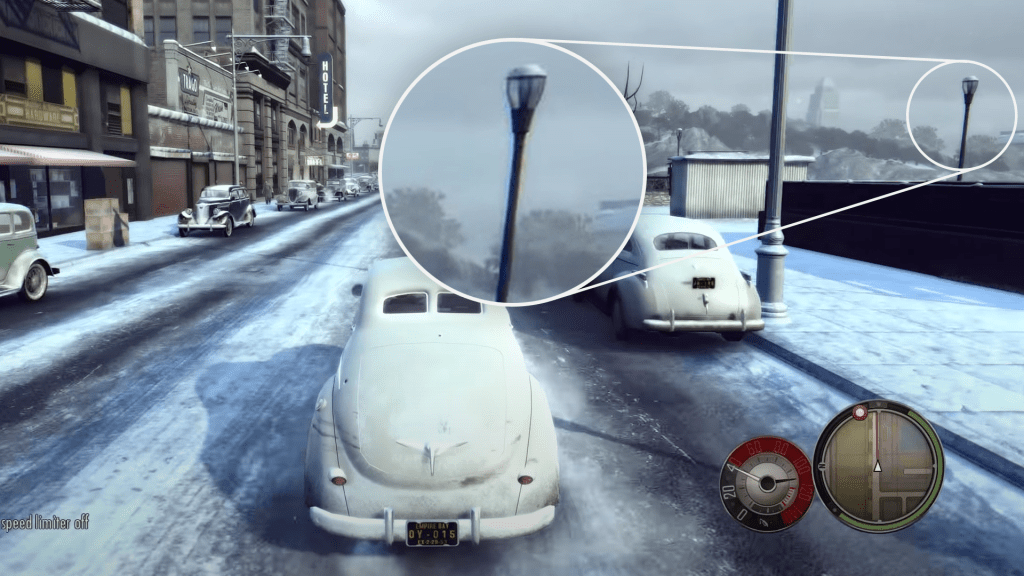
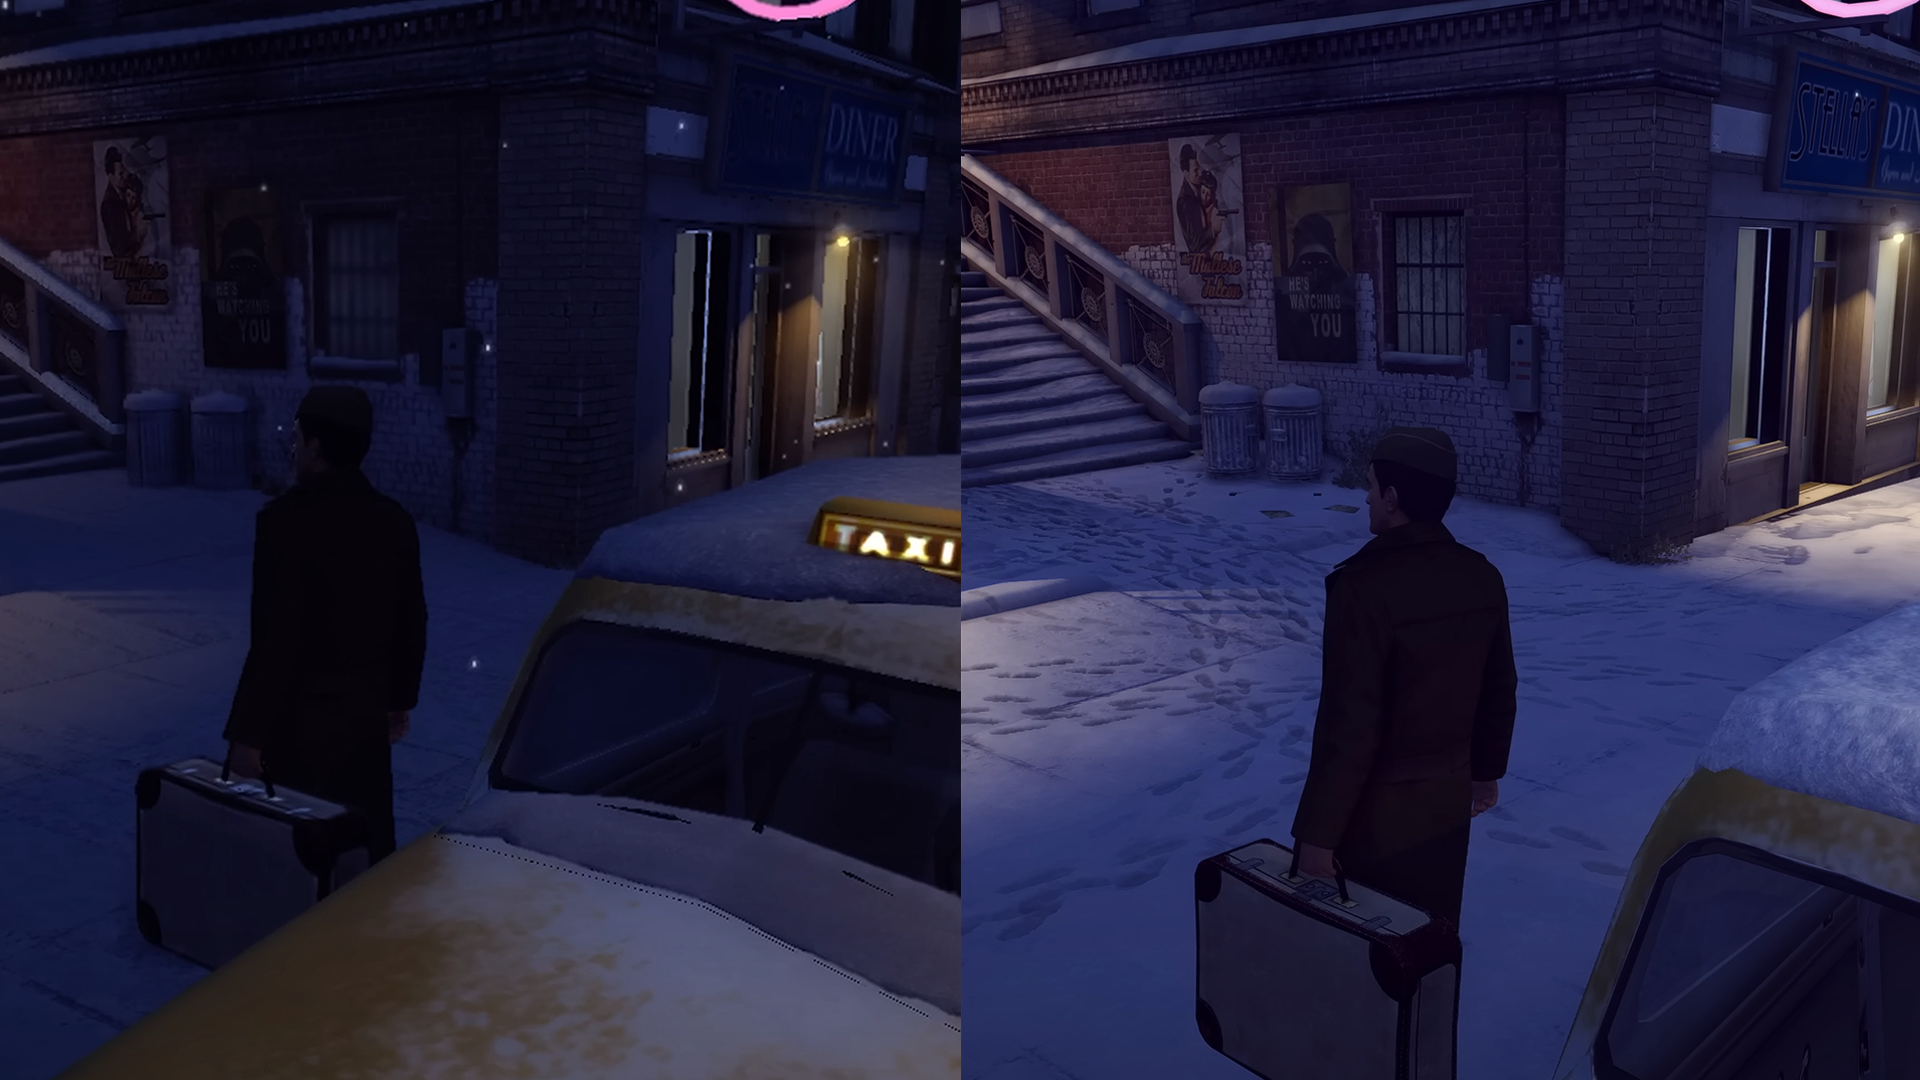
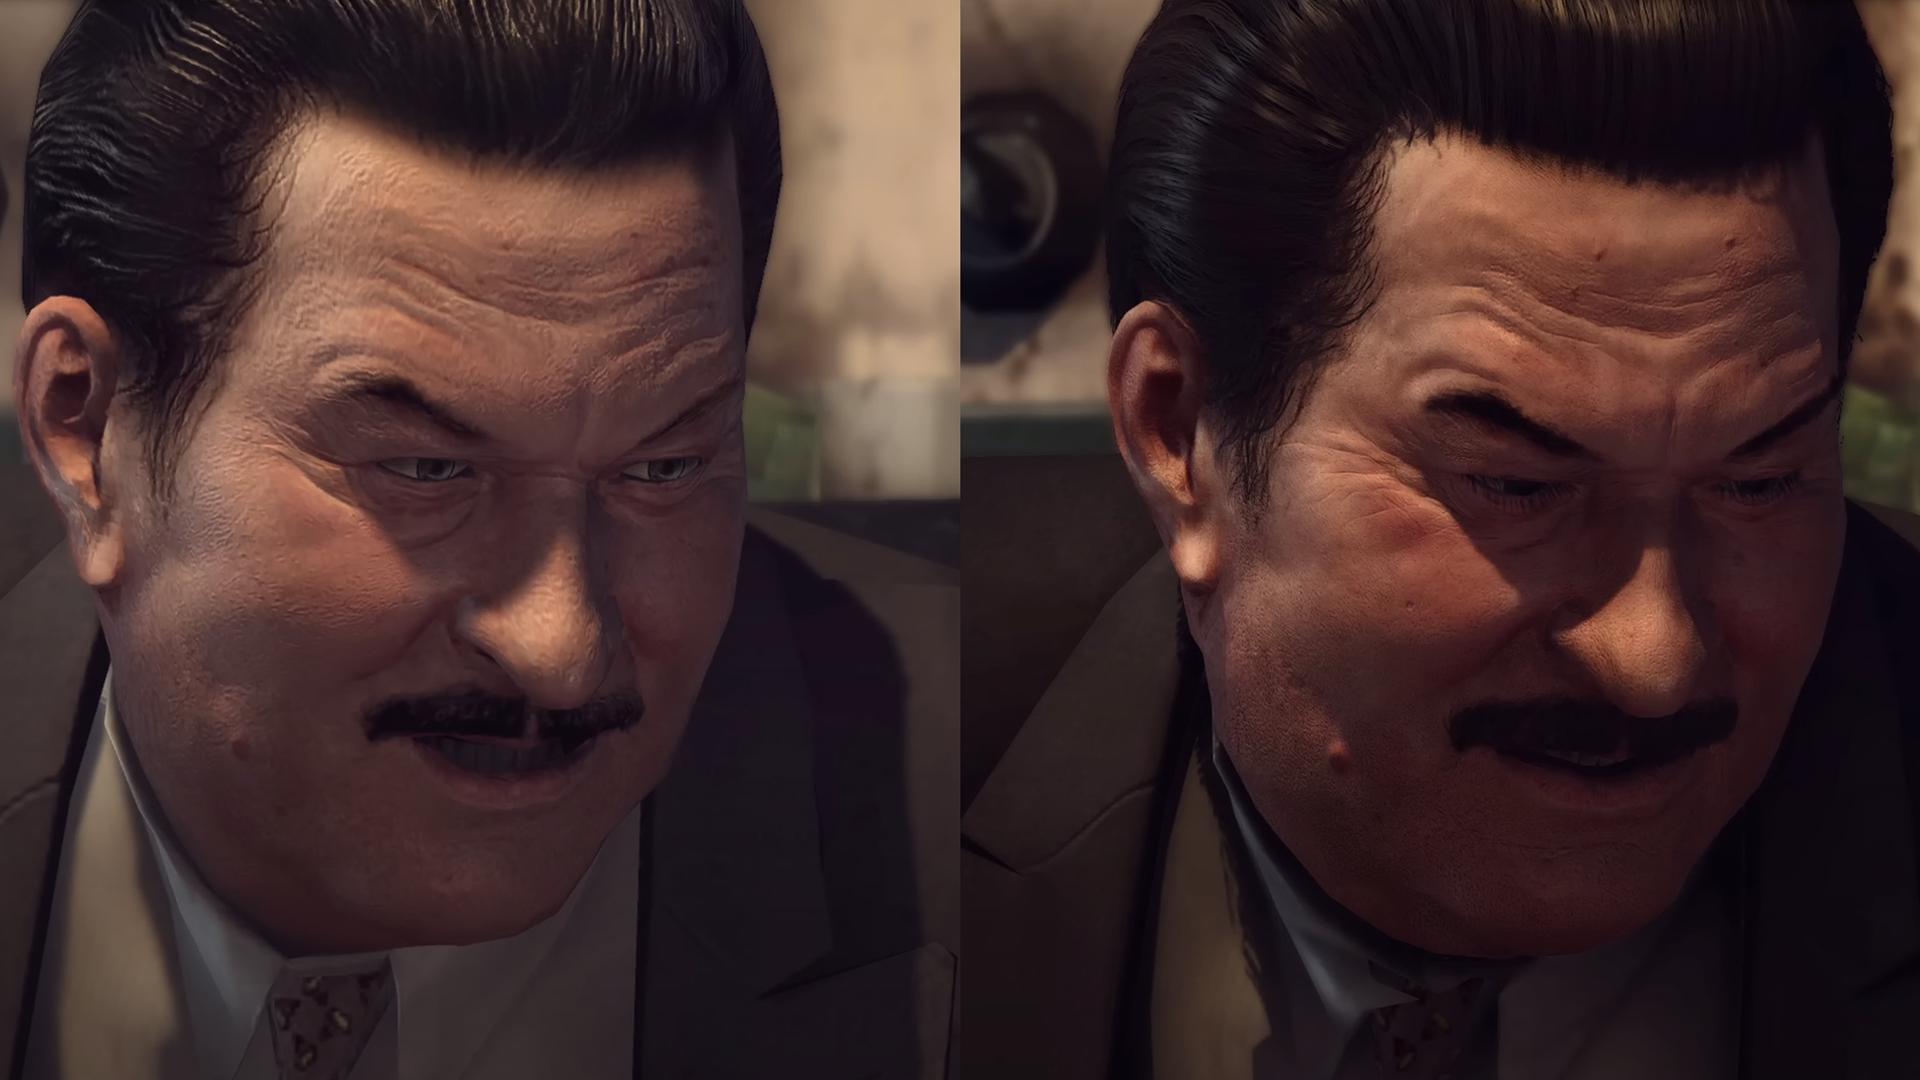
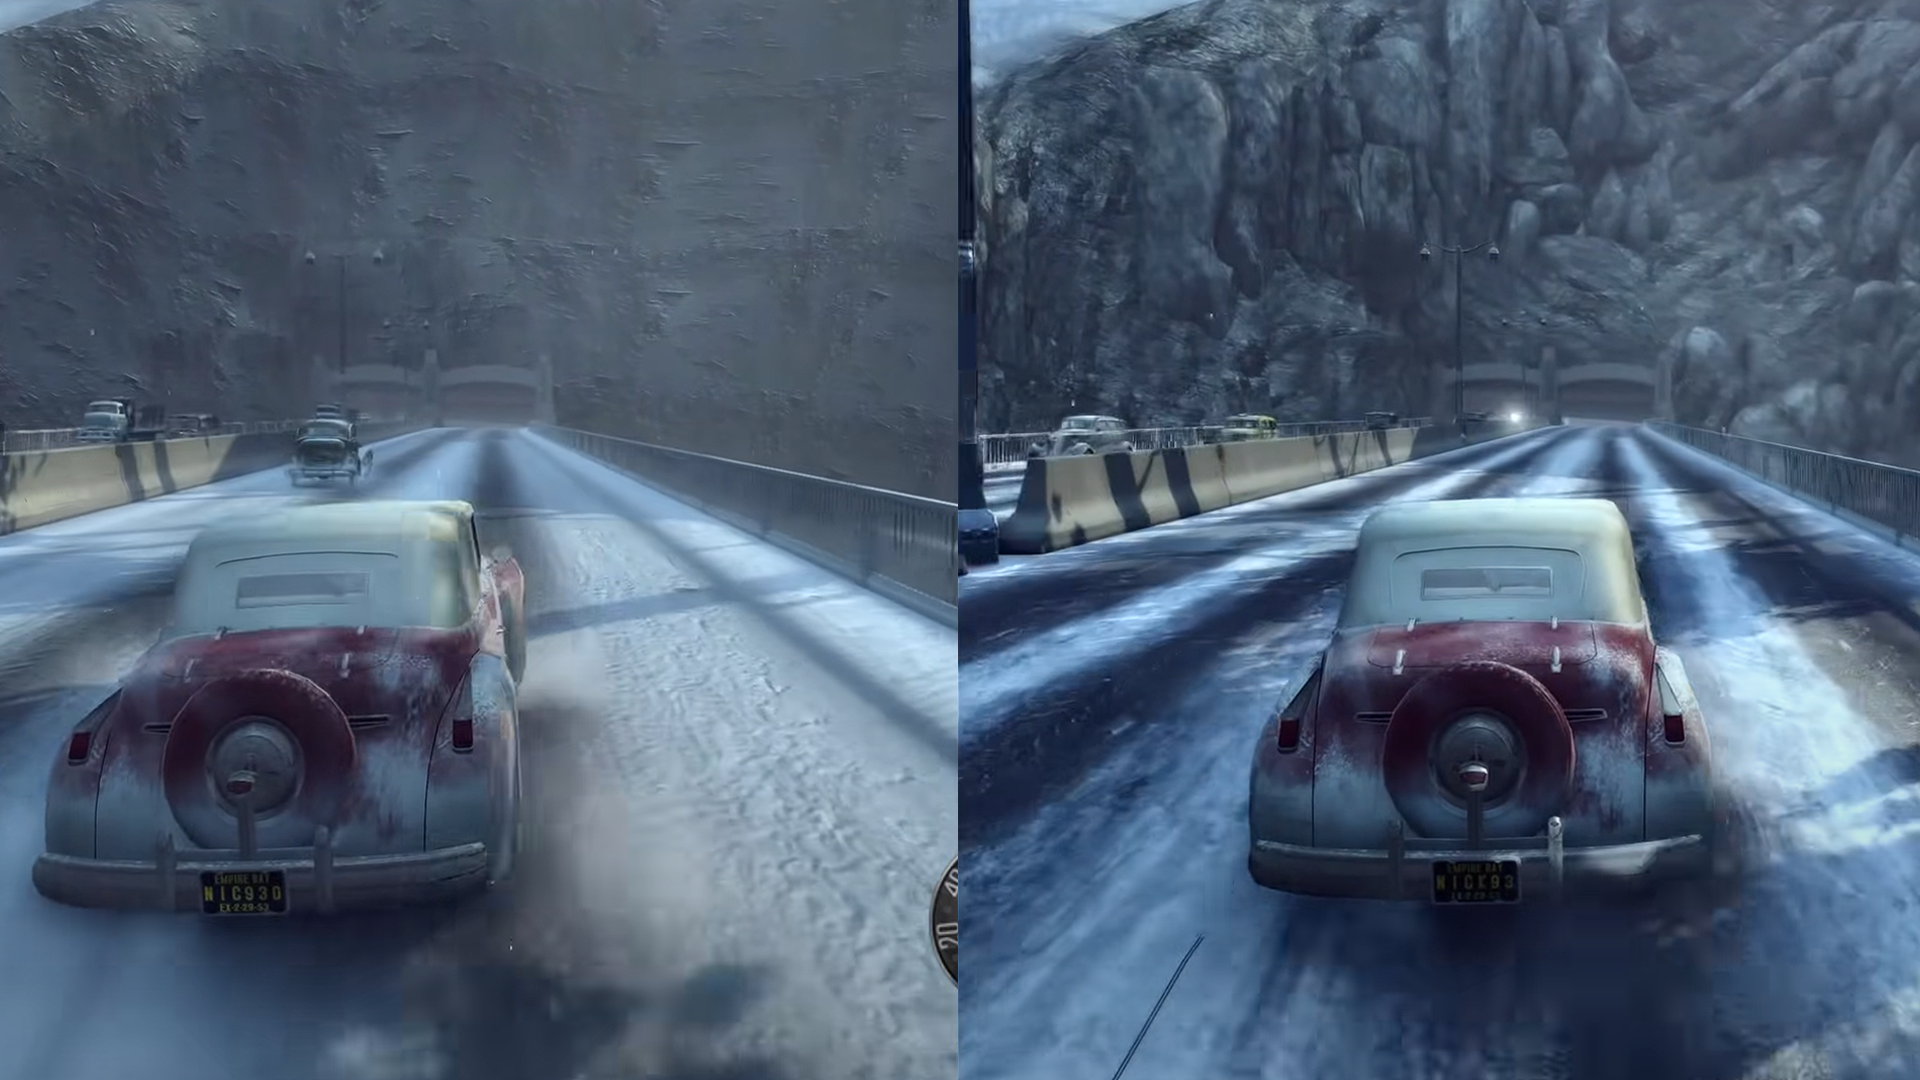
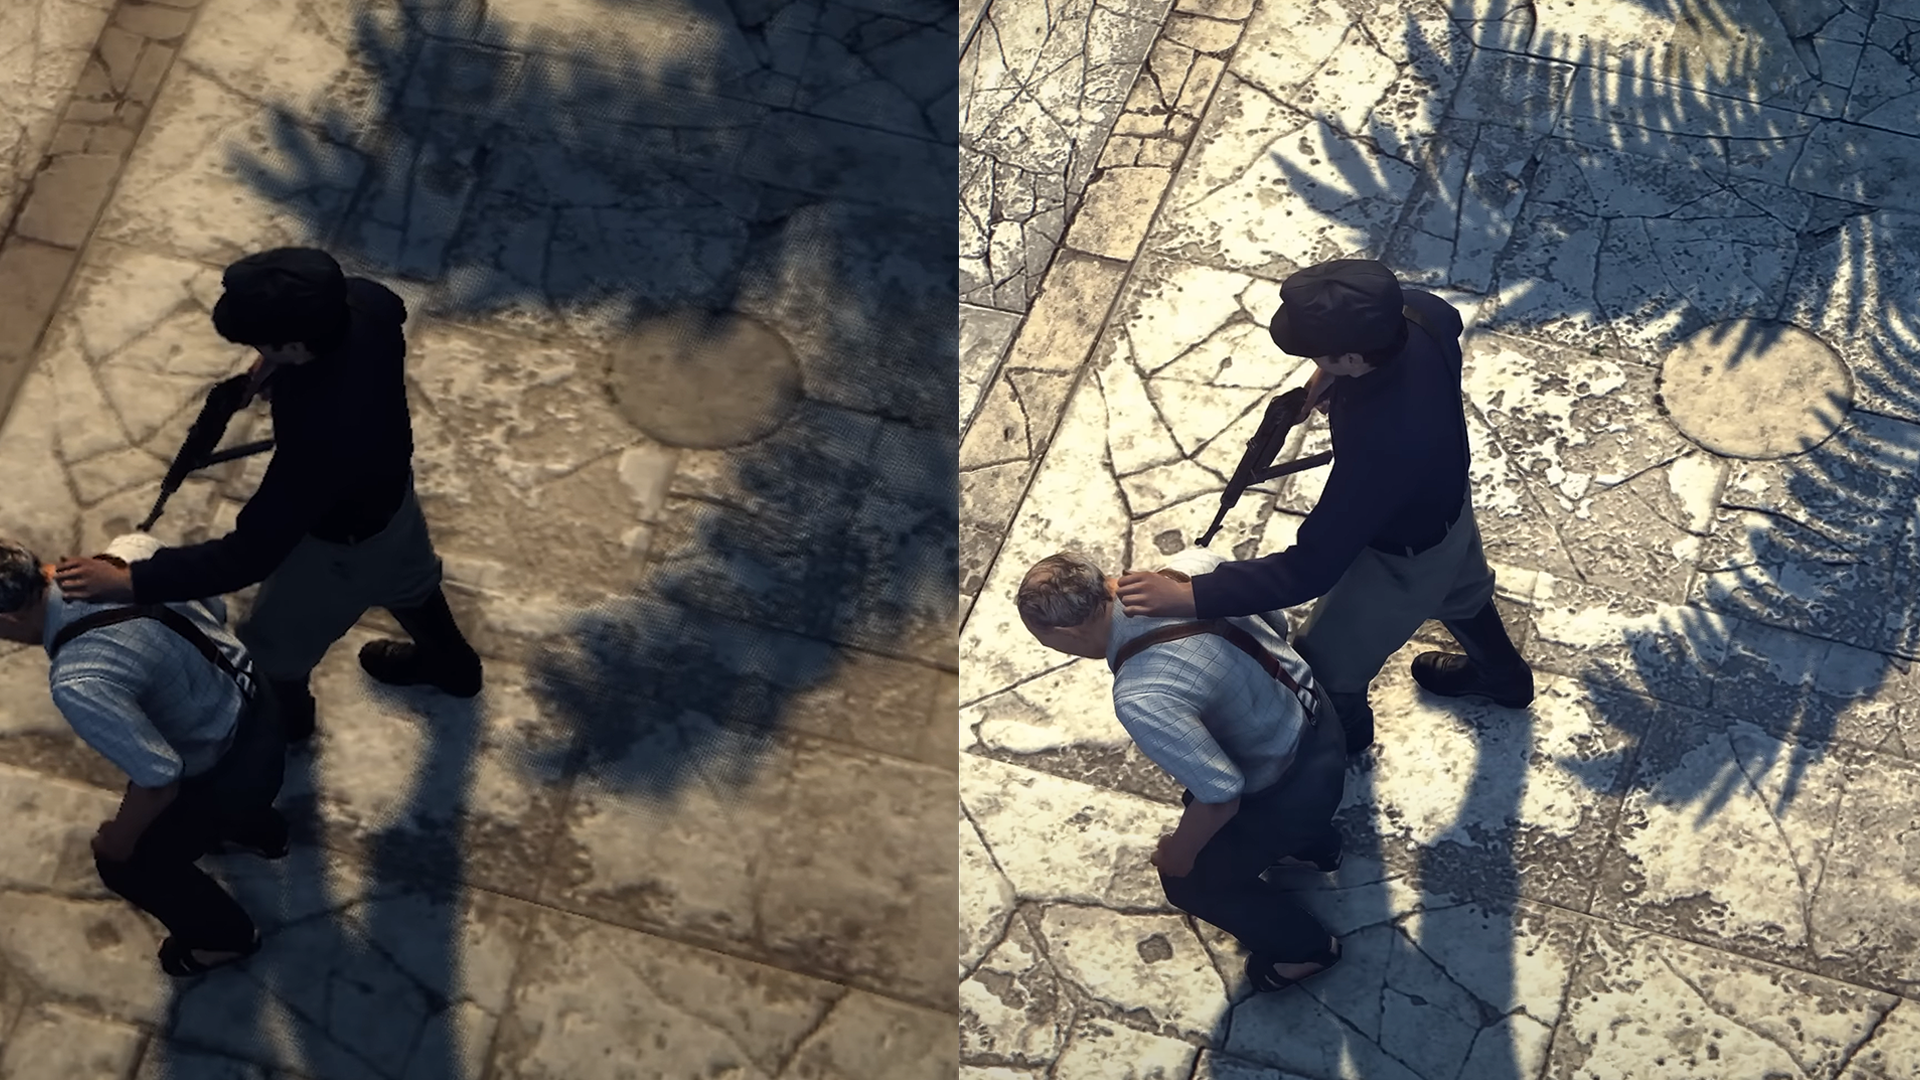
Comparison
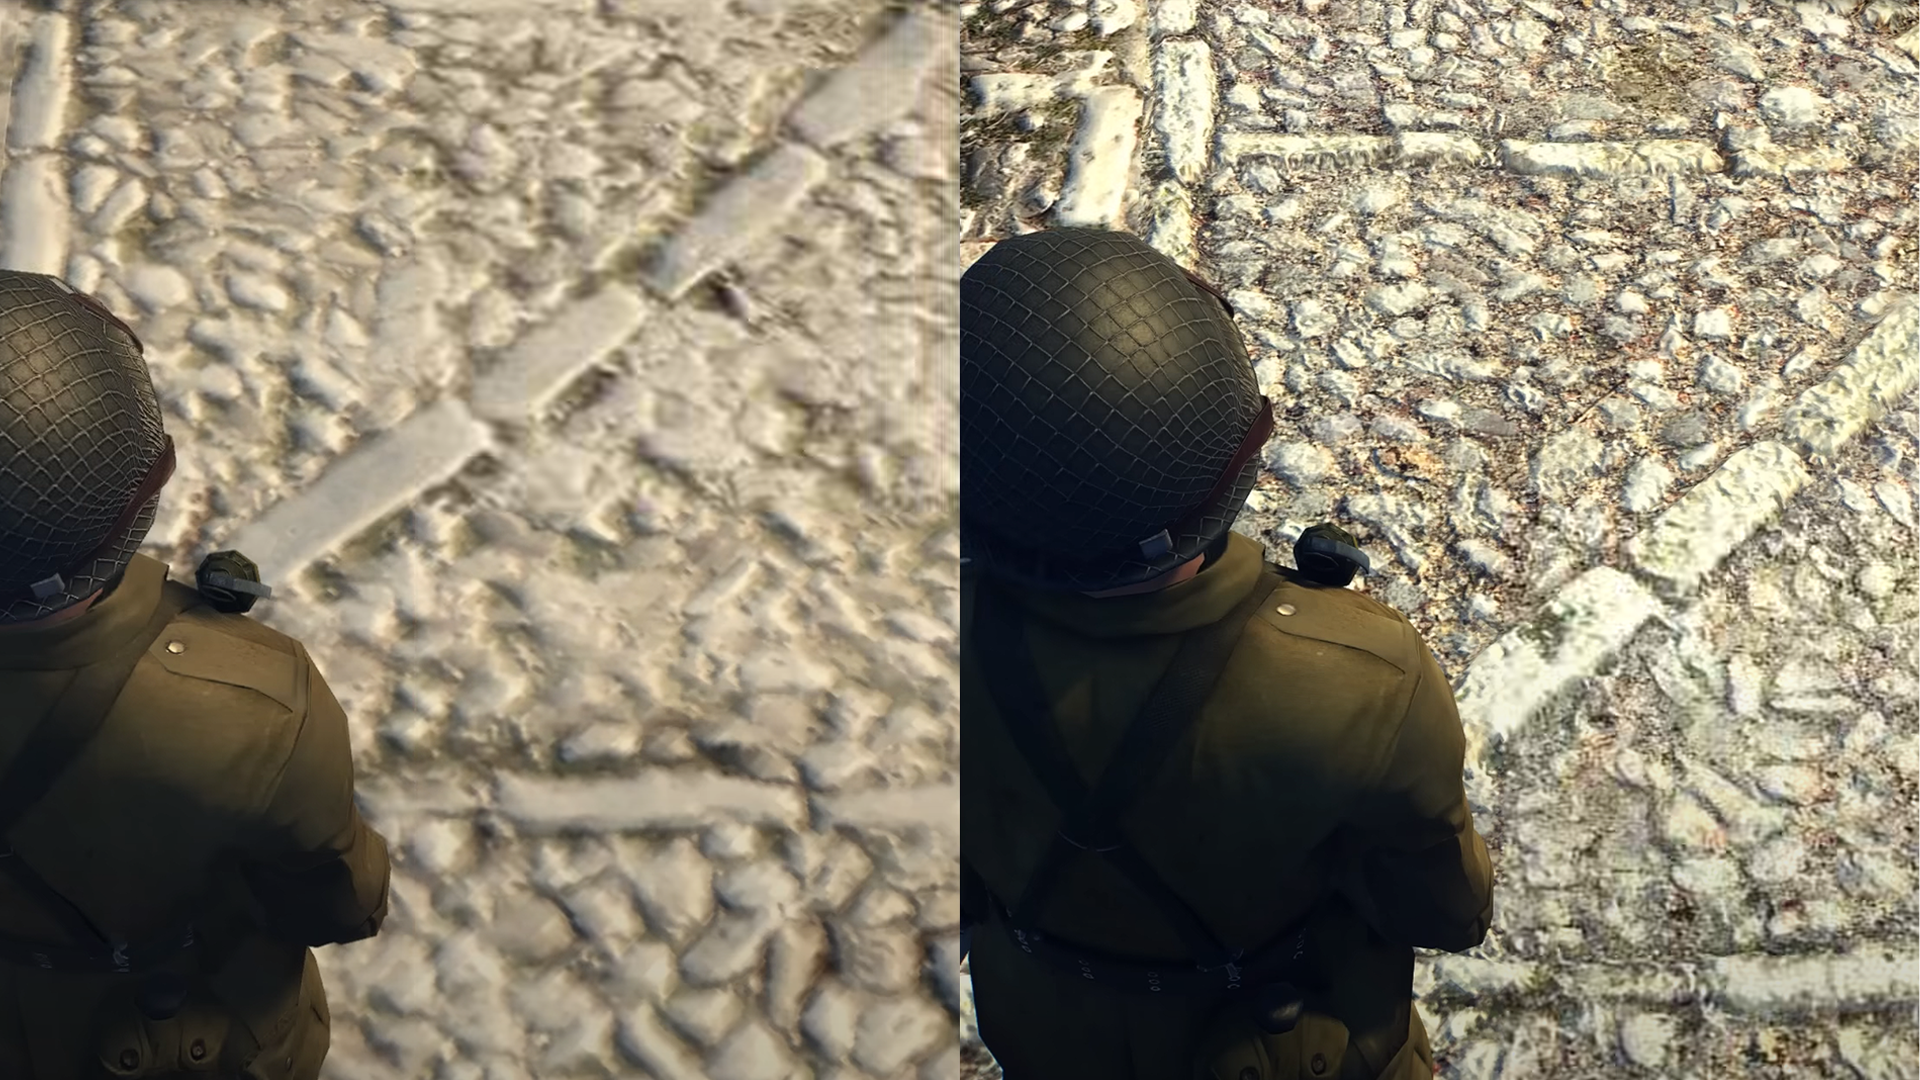
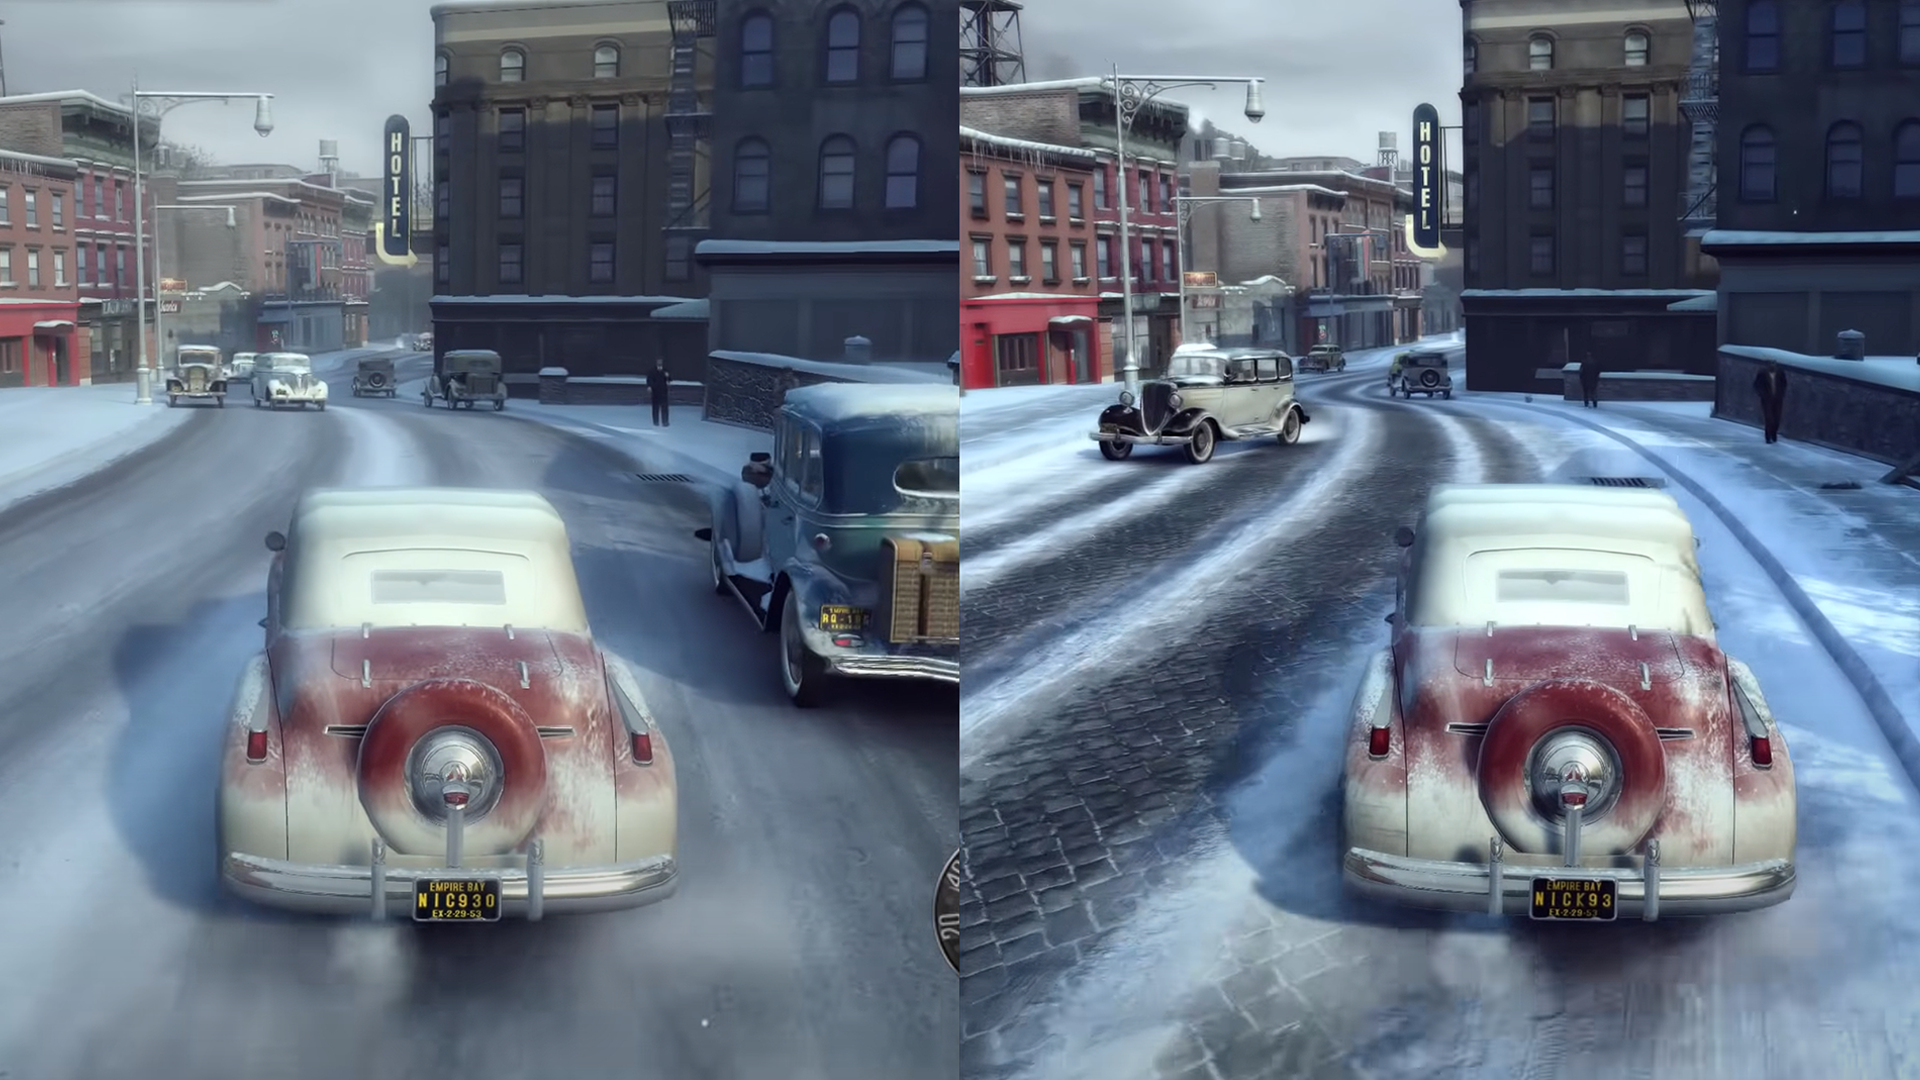
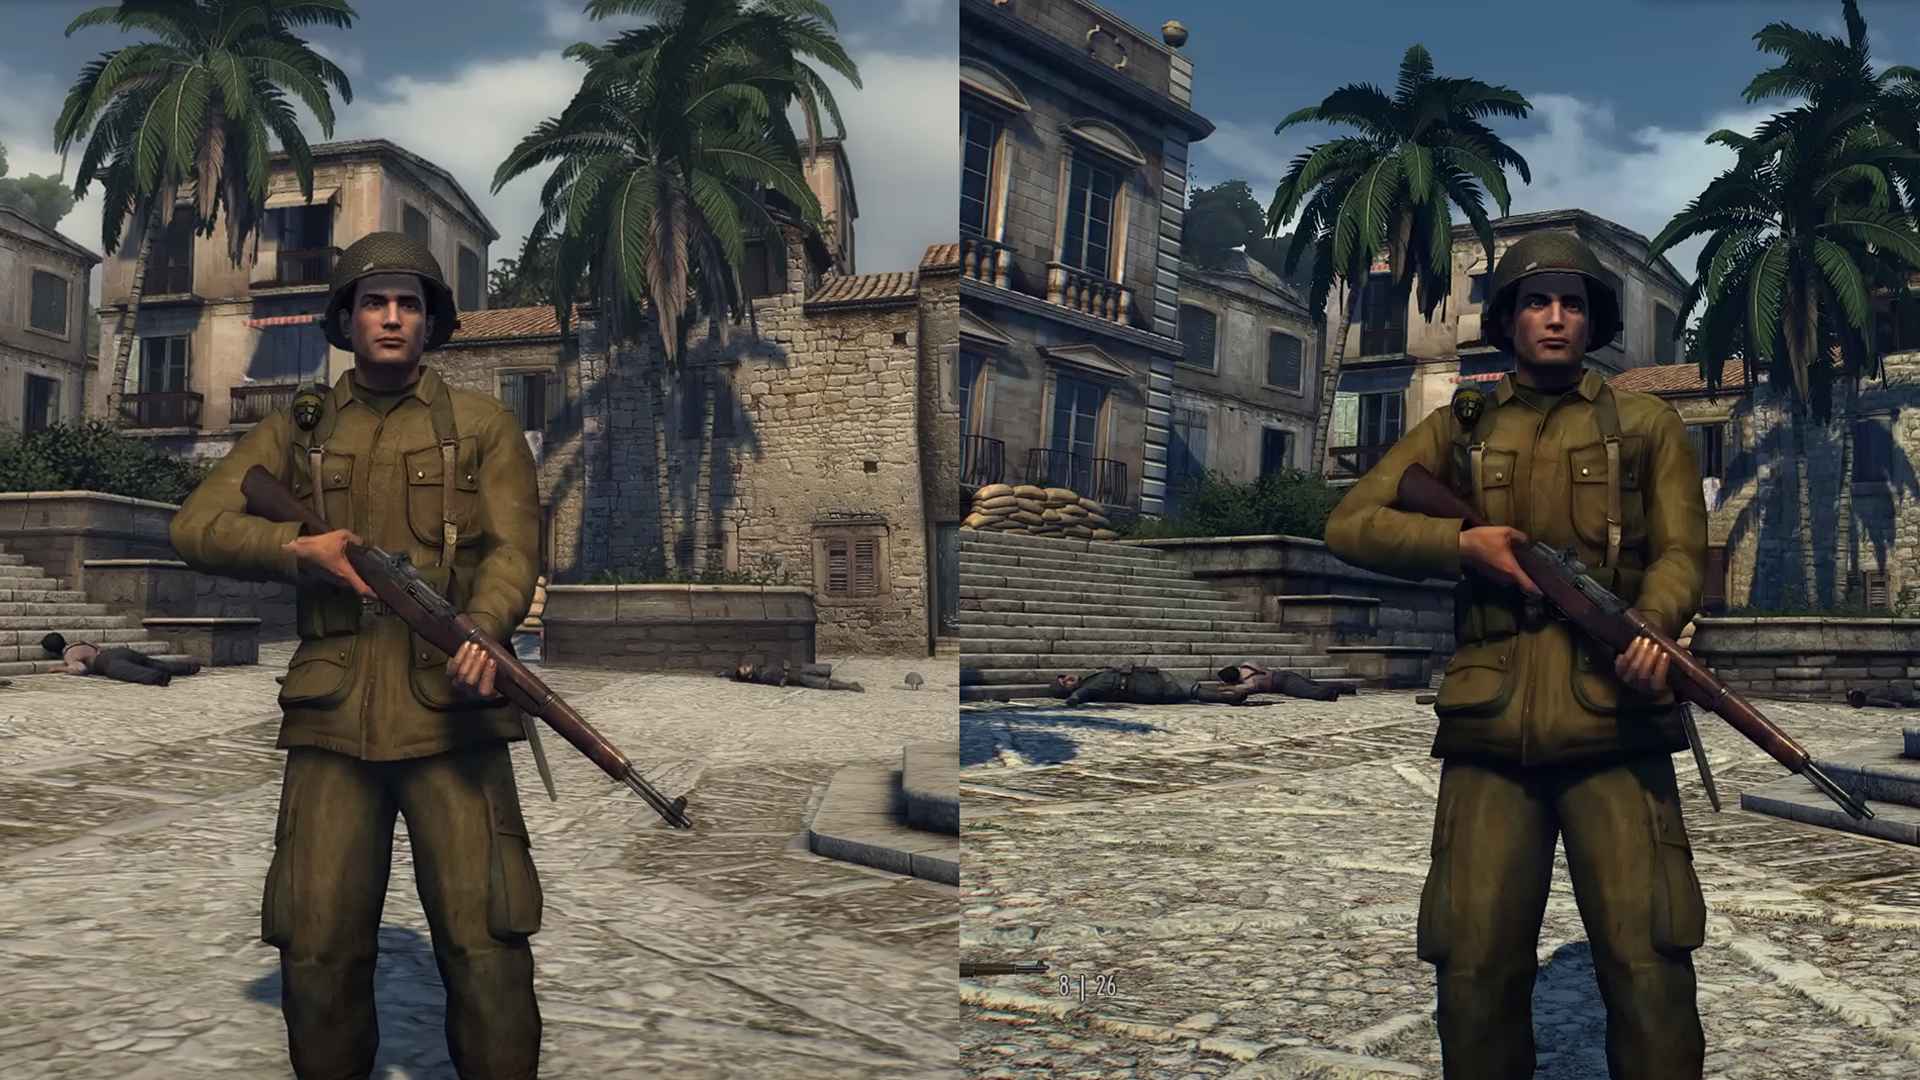
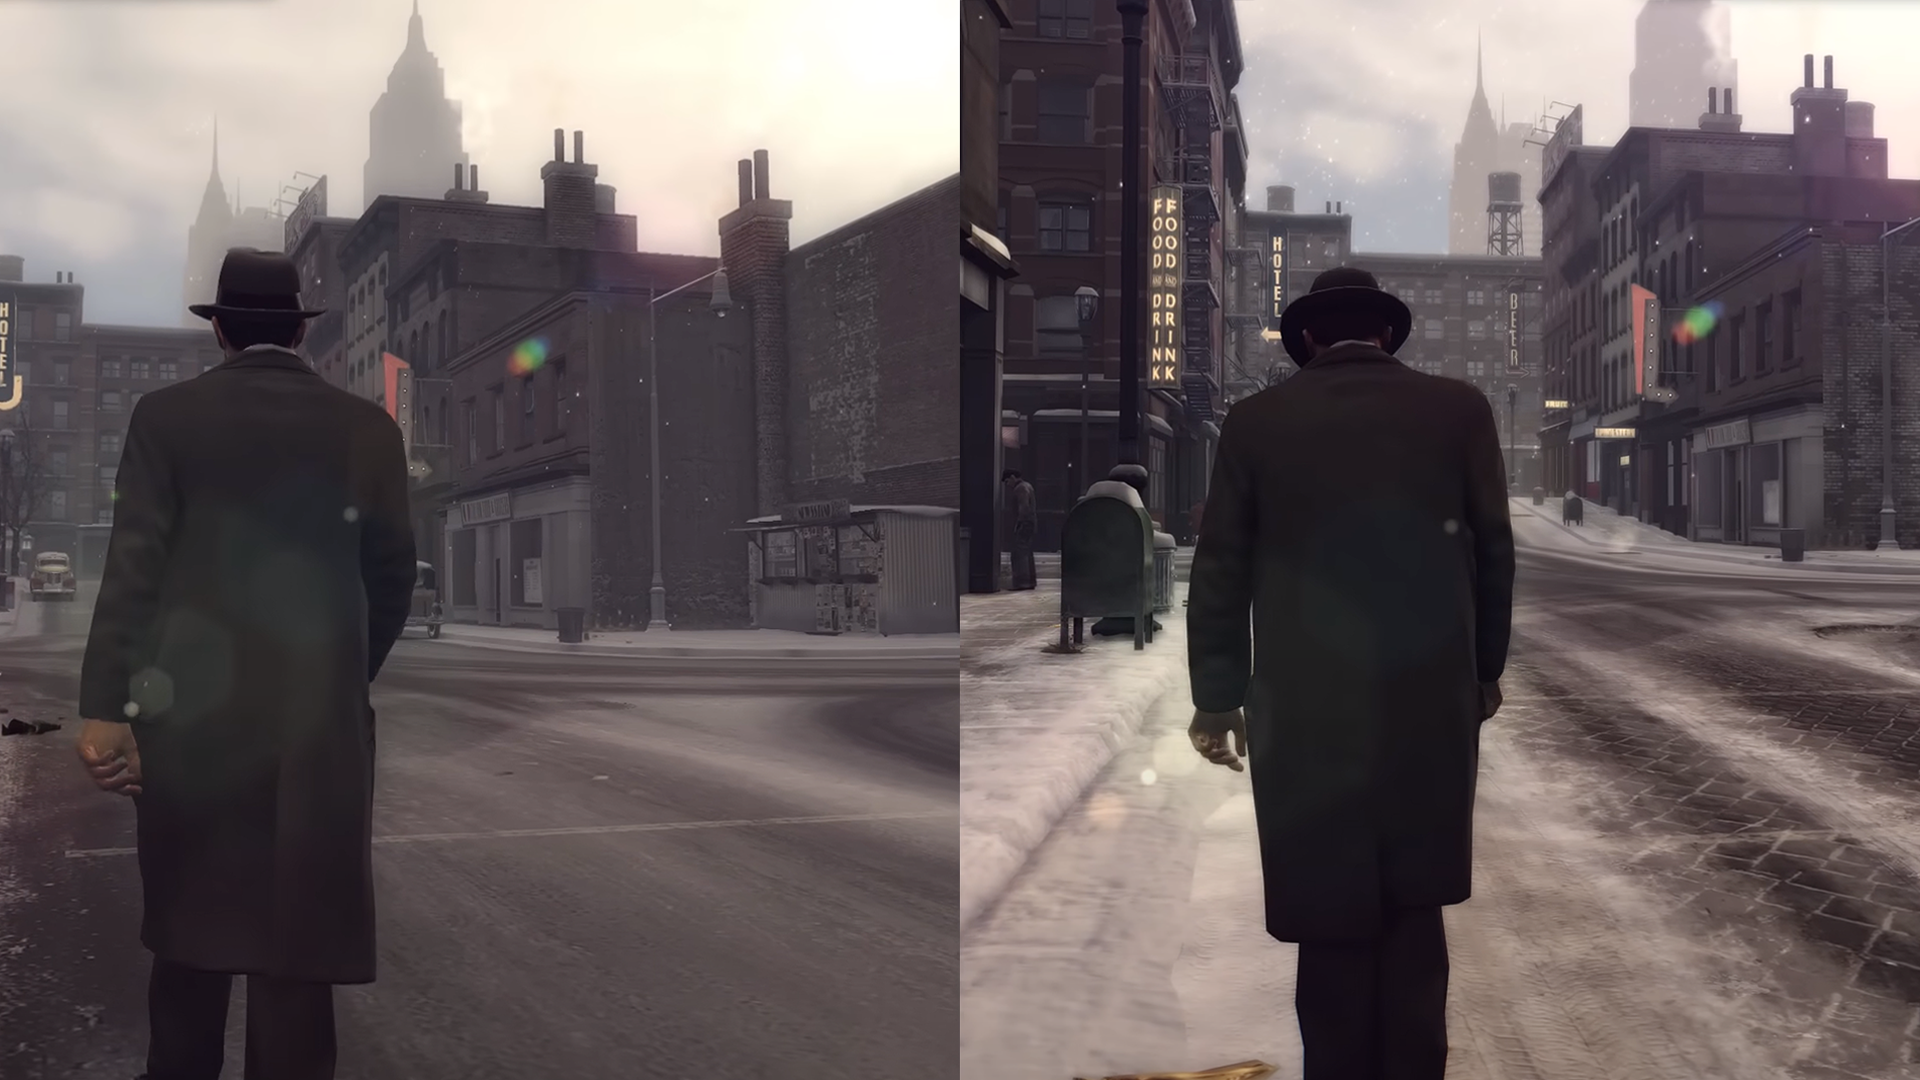
Below are a few screenshots showcasing the differences between the original Mafia 2 (left) and Mafia 2 Definitive Edition (right).

Leave a comment